

Commercial air to water heat pump sytem have quickly gained a bunch of fans due to their advantages of energy saving, environmental protection, safety, and ability to work in any area, any environment, and any place, are favored by many investors and users. So what are the installation steps of the commercial air to water heat pump system? air to water heat pump manufacturers should tell you as below:
Commercial Air to Water Heat Pump System Construction and Installation Steps are as Follows:
1. Check
Before installation, first check whether the required accessories are complete, mainly circulating pump, Y-type filter, water replenishment solenoid valve, etc., which are indispensable, and then check whether the required parts are complete and whether there are any omissions according to the installation requirements, contact air to water heat pump manufacturers for lack of parts.
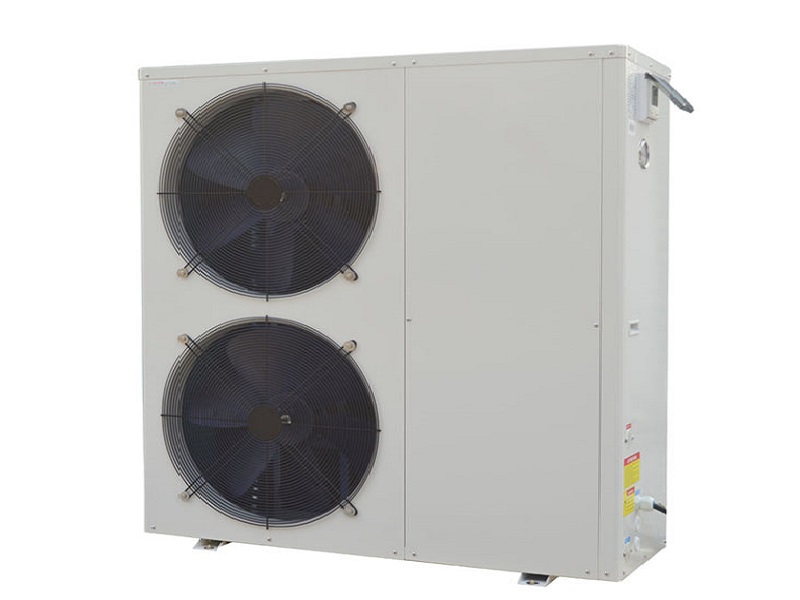
2. Host installation
Before installing the commercial air to water heat pump system host, you need to choose the installation site, place the host, the circulating pump and the insulation water tank, and put shock-absorbing rubber pads on the four feet of the host, and there are no other obstructions around it.
3. Install hot water circulation pump
The circulating pump of the air to water heat pump system should be raised, 15 centimeters above the ground, to prevent the motor from being soaked in water, and a live connection should be added at the inlet and outlet to facilitate future maintenance.
4. Install the heat preservation water tank
Because of the large water volume of air to water heat pump system, the installation foundation of the thermal insulation water tank must be solid and firm. If installed on the roof, it must be placed on the load-bearing beam. The circulation inlet of the water tank corresponds to the circulation outlet of the main engine.
5. Install the wire controller and the water tank sensor
When the wire controller is installed outdoors, a protective box should be added to prevent the sun and rain. The wire controller and the strong wire should be routed at a distance of 5cm. Insert the temperature sensor probe into the water tank, tighten it with screws, and connect the temperature head wire.
6. Power line installation
Connect the host control line and power supply, pay attention to the installation must be grounded, and connect the circulating pump and the water supply solenoid valve to the corresponding power supply terminals.
7. Unit debugging
Before debugging, check whether the various circuits are properly connected as required and there is no error, and then power on to make up water. During the water up process, the circulating pump should be drained, and the host can only start when the water level reaches the “low” water level.
Post time: Jun-15-2022